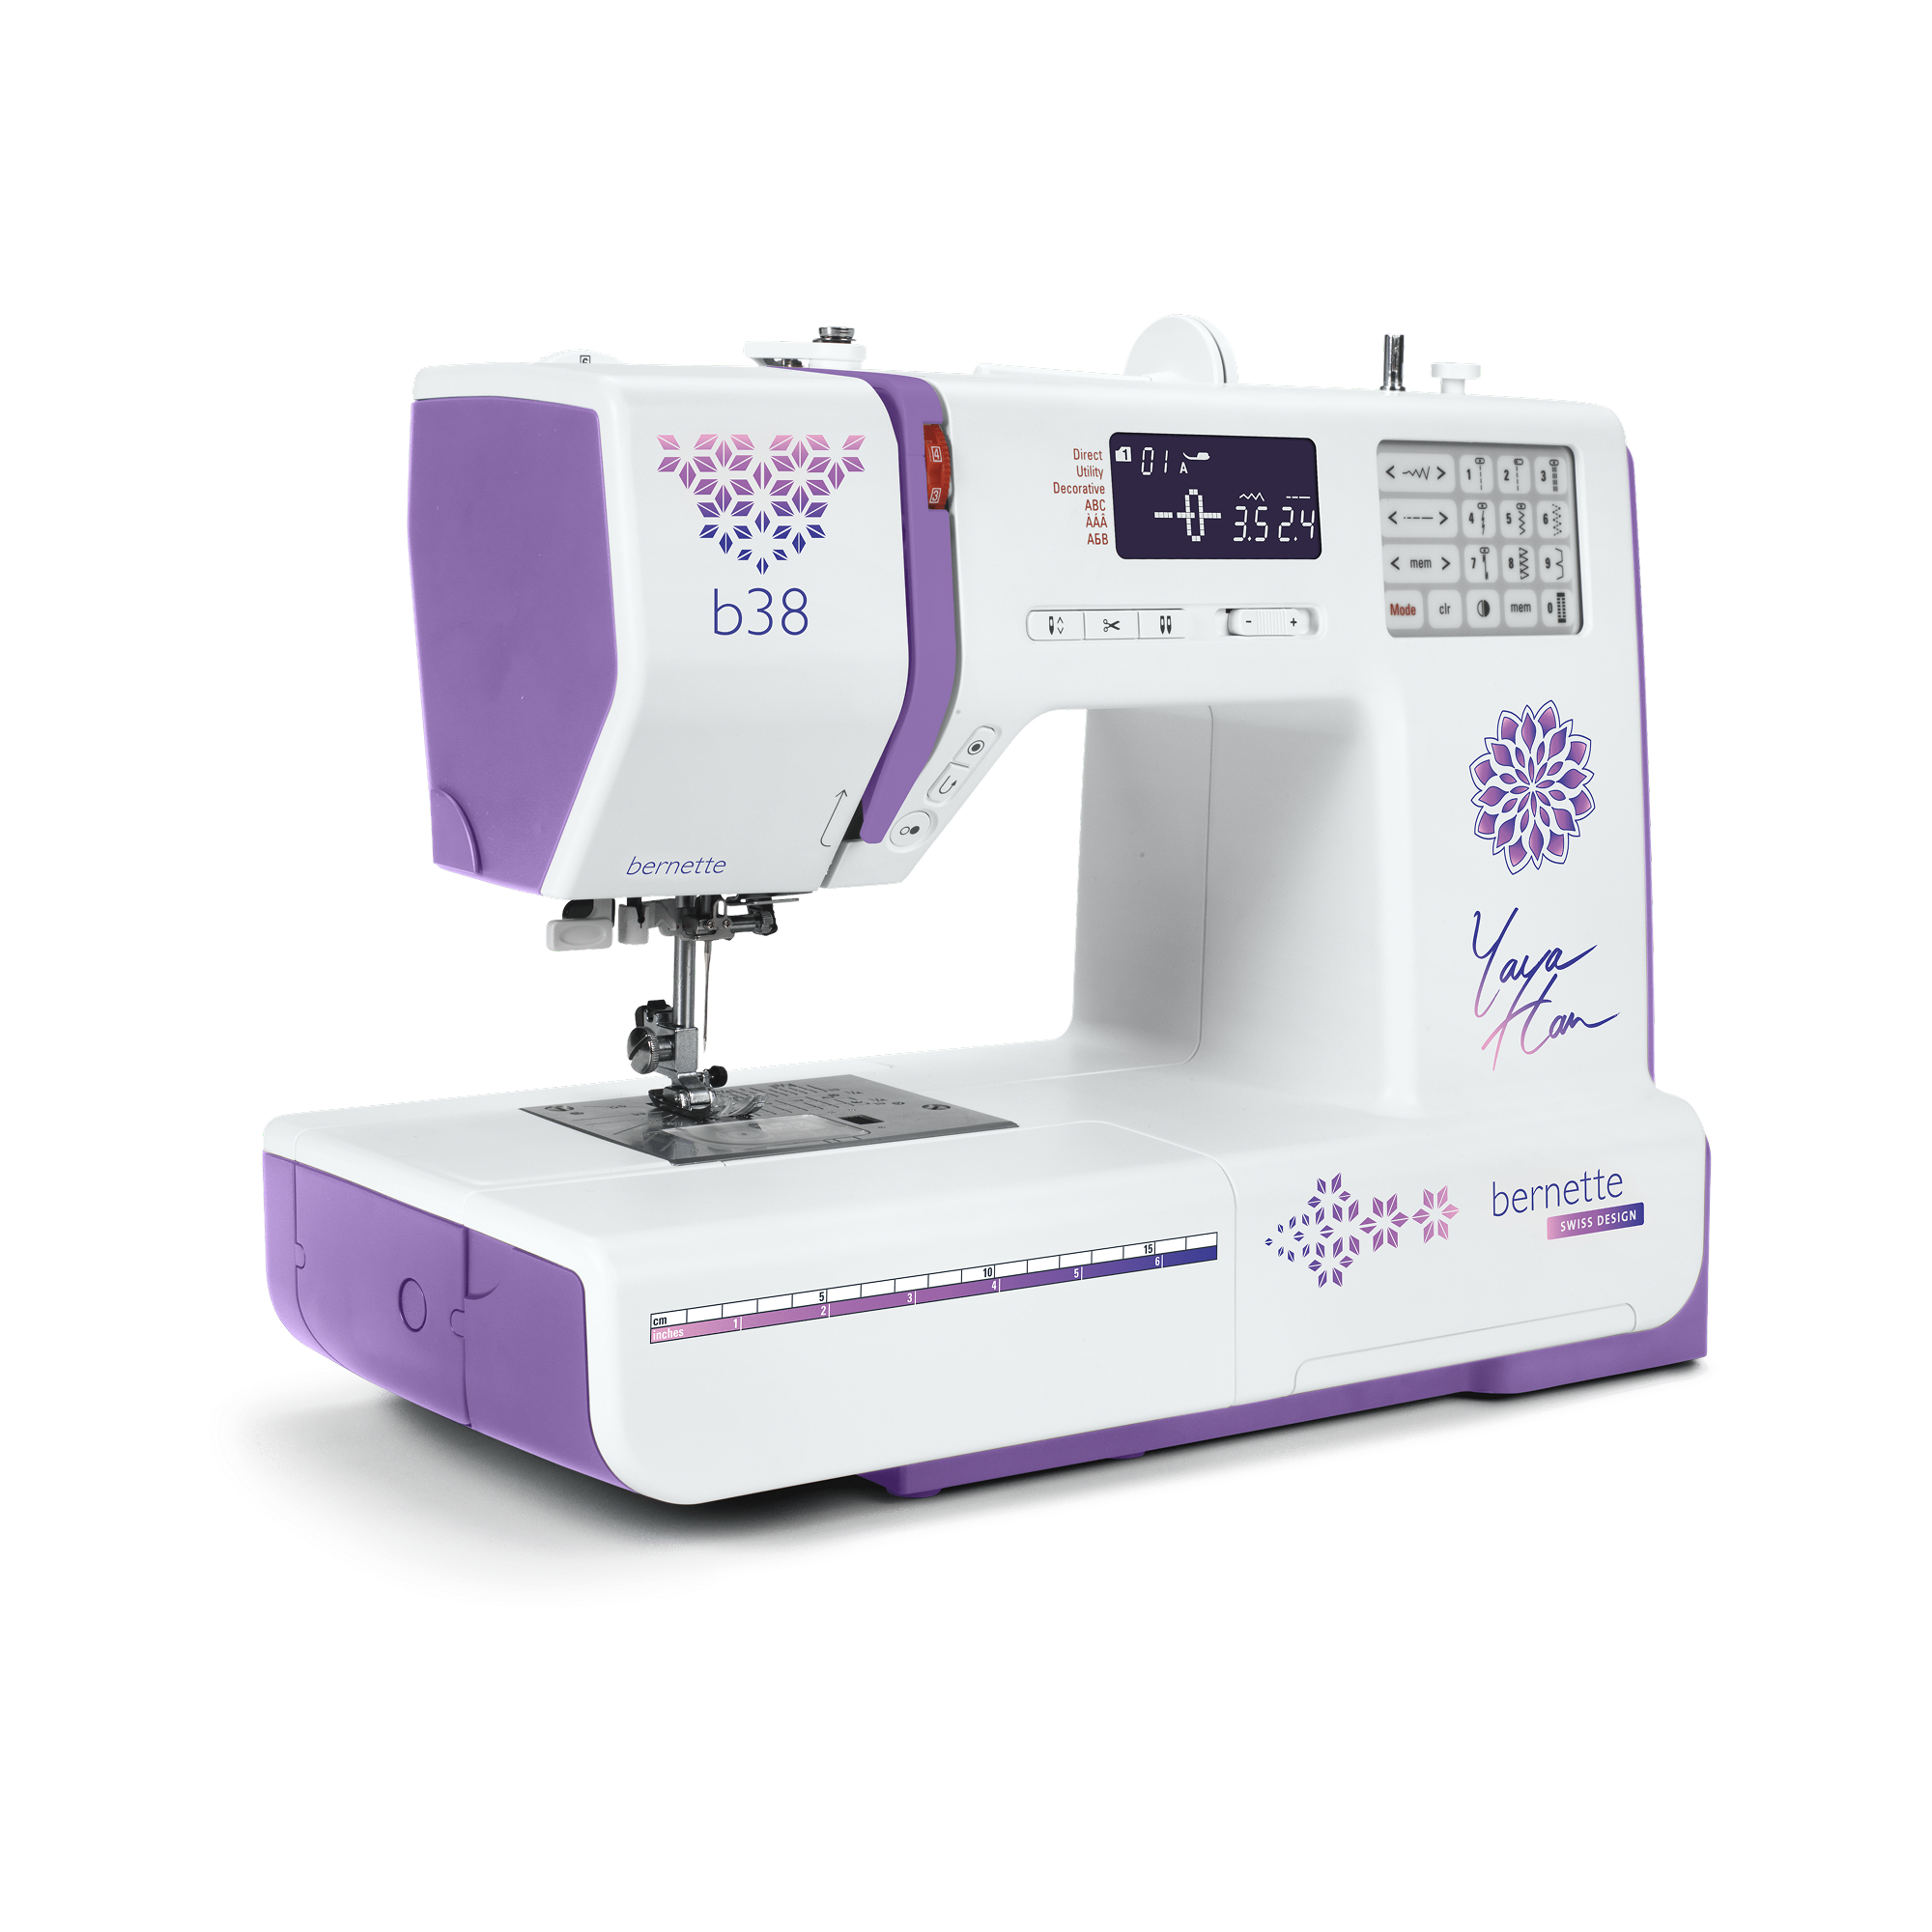
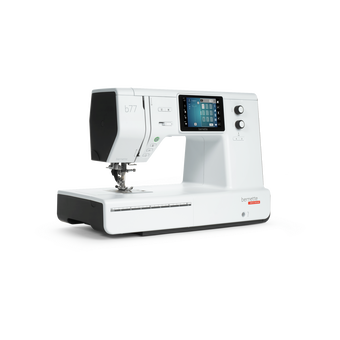
bernette 38 Yaya Han
bernette 38 Yaya Han
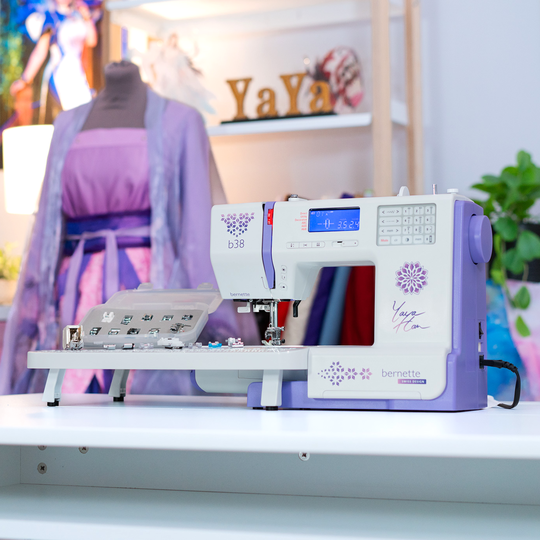
label.item 5260138006
845.00 CHF
label.availability:
  • label.instock

bernette 38 Yaya Han
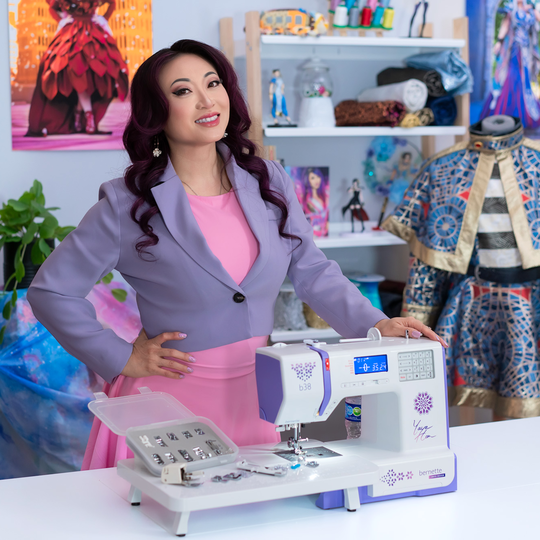
label.item 5260138006
bernette 38 Yaya Han image number
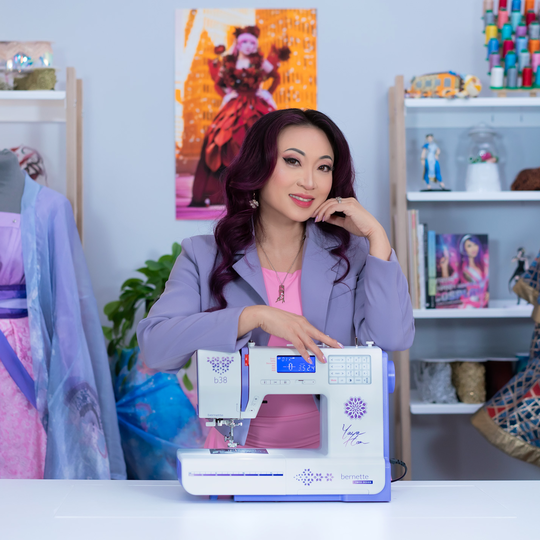
custom-attributes


label.description

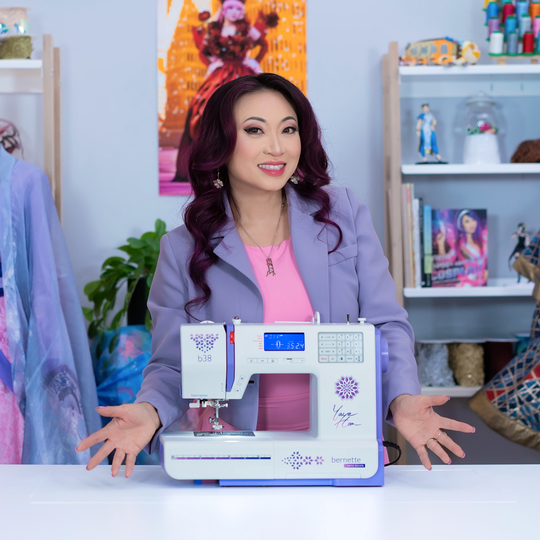
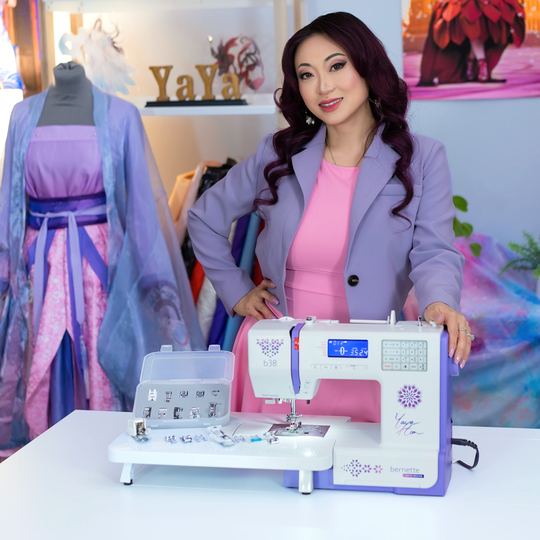
The Special Edition for Creative Minds


label.attributes

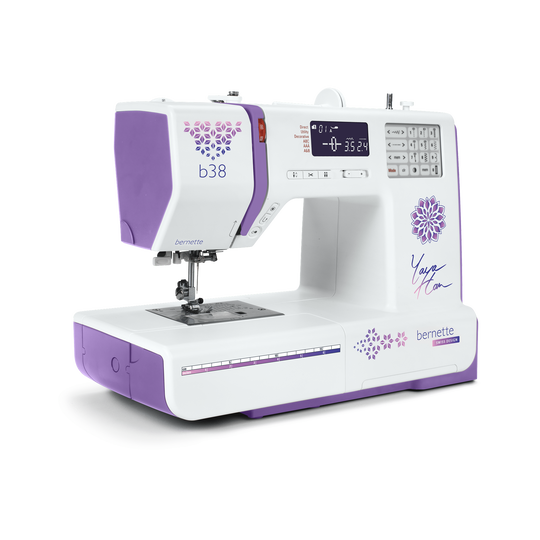
  • Automatic thread cutter
  • Adjustable presser foot pressure
  • 394 stitches in total, including 67 decorative stitches and 8 buttonholes
  • Three alphabets
  • Memory function for pattern combinations
null

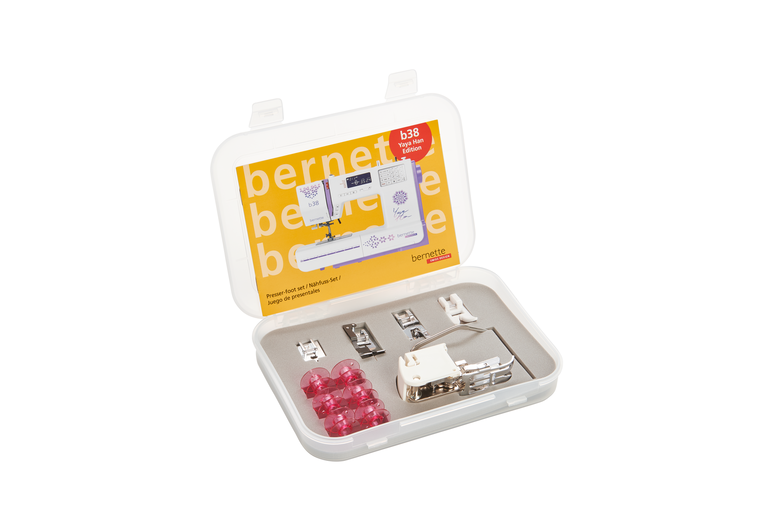
Exclusive Presser Foot Set


A carefully selected set of presser feet helps you handle a wide variety of materials – from delicate fabrics to thicker materials like faux leather or thermoplastics. The Walking Foot ensures smooth fabric feed, even when layering challenging textiles.

This set includes:

  • Walking Foot
  • Seam Guide right
  • Invisible Zipper Foot
  • Zigzag Foot with Non-Stick Sole
  • Edgestitch Foot
  • Hemmer Foot
  • 6 pink Bobbins

null

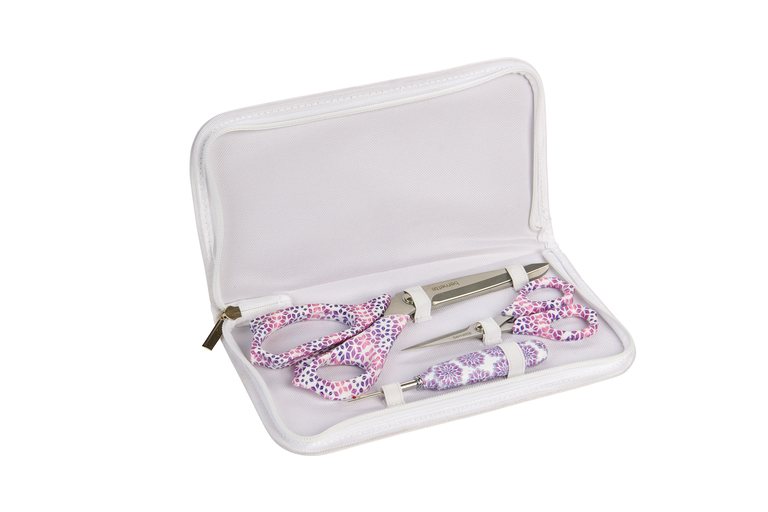
Yaya Han Scissors


Designed for cosplay essentials: clean cuts through delicate fabrics, sharp details for trims and appliqués, and quick fixes when every stitch counts.

A matching scissor kit by Yaya Han – including fabric and embroidery scissors plus a seam ripper – brings her signature design right to your hands.


Features and Functions

bernette 38 Yaya Han
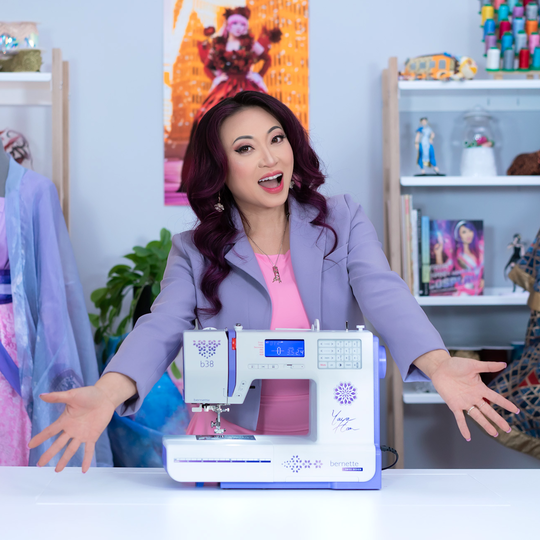
detailwidget.tab.importanttitle
detailwidget.tab.importanttext
Freearm length to the right of the needle [inch / mm]
170 mm
Automatic thread cutting system (upper and lower thread)
Adjustable Presser Foot Pressure
Mechanic
Machine Type
electronic
Adjust stitch length
Adjust stitch width
Sewing stitches and characters in total [number]
394
Sewing alphabets [number]
3
Stitch width max [mm]
7 mm
Start-stop button
Bobbin winder, top of machine
Nadelstopp oben/unten, permanent (oben/unten)
Electronic Foot Control
Gewicht Maschine
6,400 g
Freearm length to the right of the needle [inch / mm]
170 mm
Workspace height [inch / mm]
109 mm
Spool holder [number]
2
Main motor, Type
DC
Needle threading, semi-automatic
Automatic thread cutting system (upper and lower thread)
Hook system
Drop-in
Versenkbarer Transporteur
bernette Two Level Presser Foot Lift
Adjustable Presser Foot Pressure
Mechanic
Screen position
centrally
Bildschirmgrösse LCD [Zoll]
2.9 inch
Number of LEDs
1
Illumination above the needle
speed control
Machine Type
electronic
Adjust stitch length
Balance forward / reverse feed
Pattern end
Adjust stitch width
Mirror horizontally/vertically
Gesamtzahl der Knopflöcher
8
One-step Buttonhole
Buttonhole automatic with 3A feet (auto)
Needle positions (right / left) [number]
15
Presser foot recommended (display)
Sewing decorative stitches in total [number]
59
Sewing stitches and characters in total [number]
394
Sewing alphabets [number]
3
Freearm circumference in the needle position [mm]
290 mm
Stitch width max [mm]
7 mm
Sewing speed maximum [spm]
820 spm
Adjustable Upper Thread Tension
manual
Presser foot system
Snap-on
Start-stop button
Quick Reverse button (hand operated securing)
Practical Stitches
20
Quilting Stitches
25
Darning Programs
2
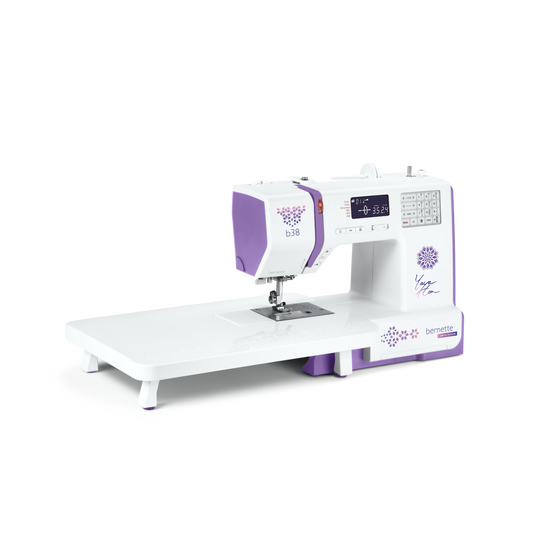
Slide-on table
Dust brush
Needle assortment
Net for upper thread spools
Dust cover machine
Accessory box

Tutorials

b38 + b37 Tutorial – How to sew on a button (5/7)
You will find additional information at http://www.mybernette.com The right button for every buttonhole: With your b38 or b37, it is very easy to sew on buttons and we will show you just how to do it in this tutorial video. First select the zigzag stitch and reduce the sewing speed. In your accessory box you will find the button-sew-on foot T, which you will now attach to your bernette sewing machine. Lower the feed dog and lower the needle with the hand wheel into the left hole of the button. Once you have lowered the sewing foot, sew three stitches and then stop. Now check with the hand wheel whether the needle fits into the right hole or whether you need to change the stitch width. Then sew several stitches with the foot control. Finally you just have to press the "Automatic sewing up" button and you can lift the feed dog again: your sewn-on button is now done!
b38 + b37 Tutorial – How to sew on a button (5/7)
b38 + b37 Tutorials – Buttonholes (4/7)
b38 Tutorial – Starting to sew (3/7)
Discover the new bernette models! (short version)
For more information please visit: http://www.mybernette.com Do you want to be creative and sew your own things? Or alter and embellish your clothing? Then the new bernette models in the stylish two-color Swiss design are perfect for you! They are easy to use, have numerous functions with excellent stitch quality, and are durable as well as affordably priced. Experience creative sewing fun at a high level and don't settle for less.
Discover the new bernette models! (short version)
b38 Tutorial – Selecting and combining stitches (6/7)
You will find additional information at http://www.mybernette.com In this tutorial video for your bernette 38, we show you how you can select stitches and combine them with each other. As soon as you switch on the sewing machine, all of the stitches are available to choose from on the display. The straight stitch is always selected first. If you would like to select a different stitch, you will find an overview in the accessories drawer. You can use the number of the respective stitch pattern to very easily switch to the corresponding mode. The selected stitch pattern can then be saved with the save button. Then you can select a second stitch pattern and then press the mirror image button and then the save button again. In the video, we show you exactly what you must do if you would like to combine several stitches and designs with your b38. You can sew a programmed combination once or several times and then have your bernette automatically sew up and trim the threads.
b38 Tutorial – Selecting and combining stitches (6/7)
b38 + b37 Tutorial – Bobbin winding and threading (2/7)
You will find additional information at http://www.mybernette.com How is the bobbin wound with your b38 or b37 and how is it threaded correctly? In this video tutorial, we show you how you very easily first insert the reel of thread and secure the thread guide spring washer. Next, you pull the thread into the bobbin, press the bobbin to the right and start the winding with the foot control or with the start / stop button. Then you can thread the upper thread, press the foot control and then raise the lower thread. With these step-by-step instructions, everything is very easy to understand so that you are perfectly prepared for your sewing project.
b38 + b37 Tutorial – Bobbin winding and threading (2/7)
b38 + b37 Tutorial – Getting ready to sew (1/7)